SAND Game Modes Guide
SAND: Raiders of Sophie is built around extraction pressure. Mode choice changes what you should practice, how much risk you should accept, and how quickly a crew should bank progress.
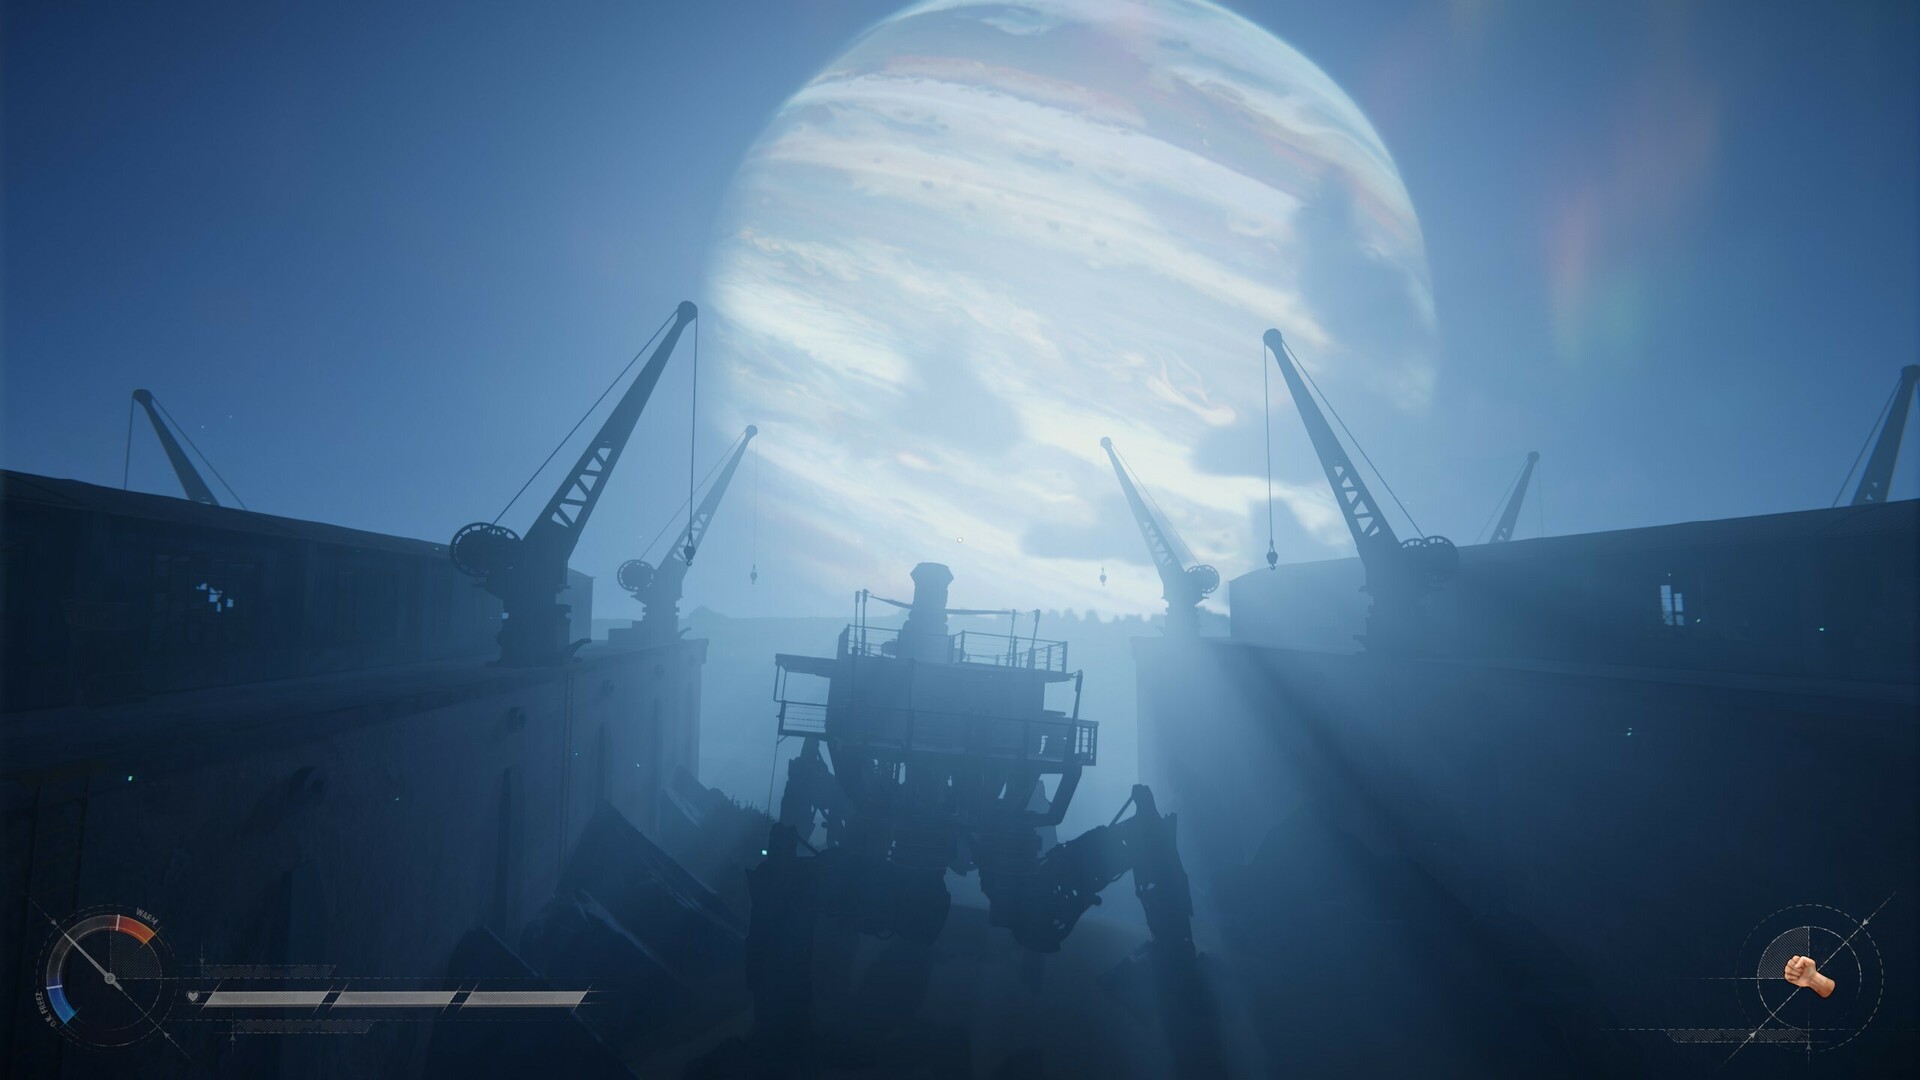
Official timer difference
The support FAQ states that Voyage has no fixed expedition time limit: players choose when to return to extraction. Storm Dive is limited by the sandstorm closing toward the center, but crews may extract at any point before it reaches them.
How to Choose a Mode
- Pick Voyage Mode when the crew is learning controls, timing, or route layout.
- Pick Storm Dive only after the crew has a clear loot goal and a retreat rule.
- Do not use high-risk mode to test a brand-new Trampler build.
- Review the run by asking whether the mode matched the crew's actual confidence.
Mode Readiness Checklist
Mode choice should come from the crew's current skill, not from impatience. If players cannot explain the route, the Trampler job, and the exit trigger, the mode is too risky for the current plan.
| Mode choice | Best use | Before entering | Review question |
|---|---|---|---|
| Voyage Mode | Learning route flow, testing builds, and practicing resource loops. | Name one objective and one extraction trigger. | Did the crew leave because the plan was complete? |
| Storm Dive | Higher-pressure value runs where timing and discipline matter more. | Confirm loadout, Trampler job, supplies, and caller. | Did pressure change the plan or expose a missing role? |
| Trampler testing | Checking whether layout changes help real movement and storage. | Test in a lower-risk mode before carrying rare loot. | Did the build solve the specific route problem? |
| Crew onboarding | Bringing new players into the route without ruining a valuable run. | Use simpler goals and assign one mentor-like role. | Did the new player learn one useful repeated habit? |
Common Mode Mistakes
The biggest mistake is using Storm Dive as practice. High-risk mode should test execution, not teach basic coordination. The second mistake is staying in Voyage forever and never testing pressure. Once a route is stable, push one variable at a time: higher value, longer route, tougher fight, or Storm Dive pressure.
Practical rule: if the crew cannot explain why it is entering Storm Dive, stay in a lower-risk learning loop.
Direct official sources
- Official support FAQ — mode definitions, time-limit rules, crew limits, and region-bound progress.
- Official Steam listing — current Early Access mode descriptions and screenshots.
- Update #4 — Storm Dive final-sequence damage fix.